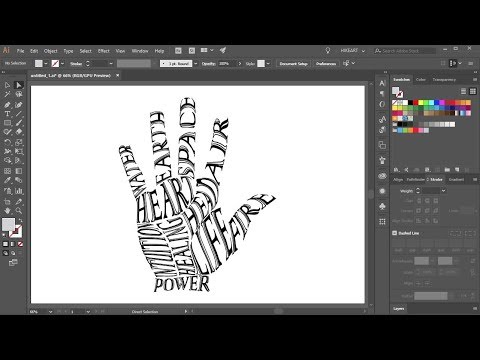
Hello, today I'm going to show you how to divide a shape into multiple areas and fill each area with conforming text. First, you will need some kind of shape. Either draw it or if you would like to use the same shape as mine, feel free to download this file. I will include a link to it in the description below. After you download the file, go to File > Place. Find the downloaded file and click Place. Click on the top left corner to place it onto your artboard. Create a new layer and lock the layer with the file. In the next several steps, we will create many small shapes, dividing the hand profile. These shapes will be the boundaries of text we will insert later. It's best to plan ahead so the text is oriented in a way that you are happy with. First, let's change the color of the shape. Now, select the pen tool and zoom in on the little finger. Let's create a vest shape. Click somewhere here, then move across and trace the first finger. You should be very familiar with using the pen tool. If you would like to learn more about the pen tool, please check out my other tutorials. I include a link to them at the end of this video and in the description below. The tracing doesn't have to be perfect because we will be modifying it later. Let's swap the fill and stroke. Now, select a different color and do the same with all the fingers. Let's open the layer with all the shapes and lock each sub-layer to prevent them from shifting. Now, we will create more shapes to fill the rest of our hand and we are ready to apply text. First, let's lock all the...
Award-winning PDF software


Video instructions and help with filling out and completing Fill Form 3520 Text